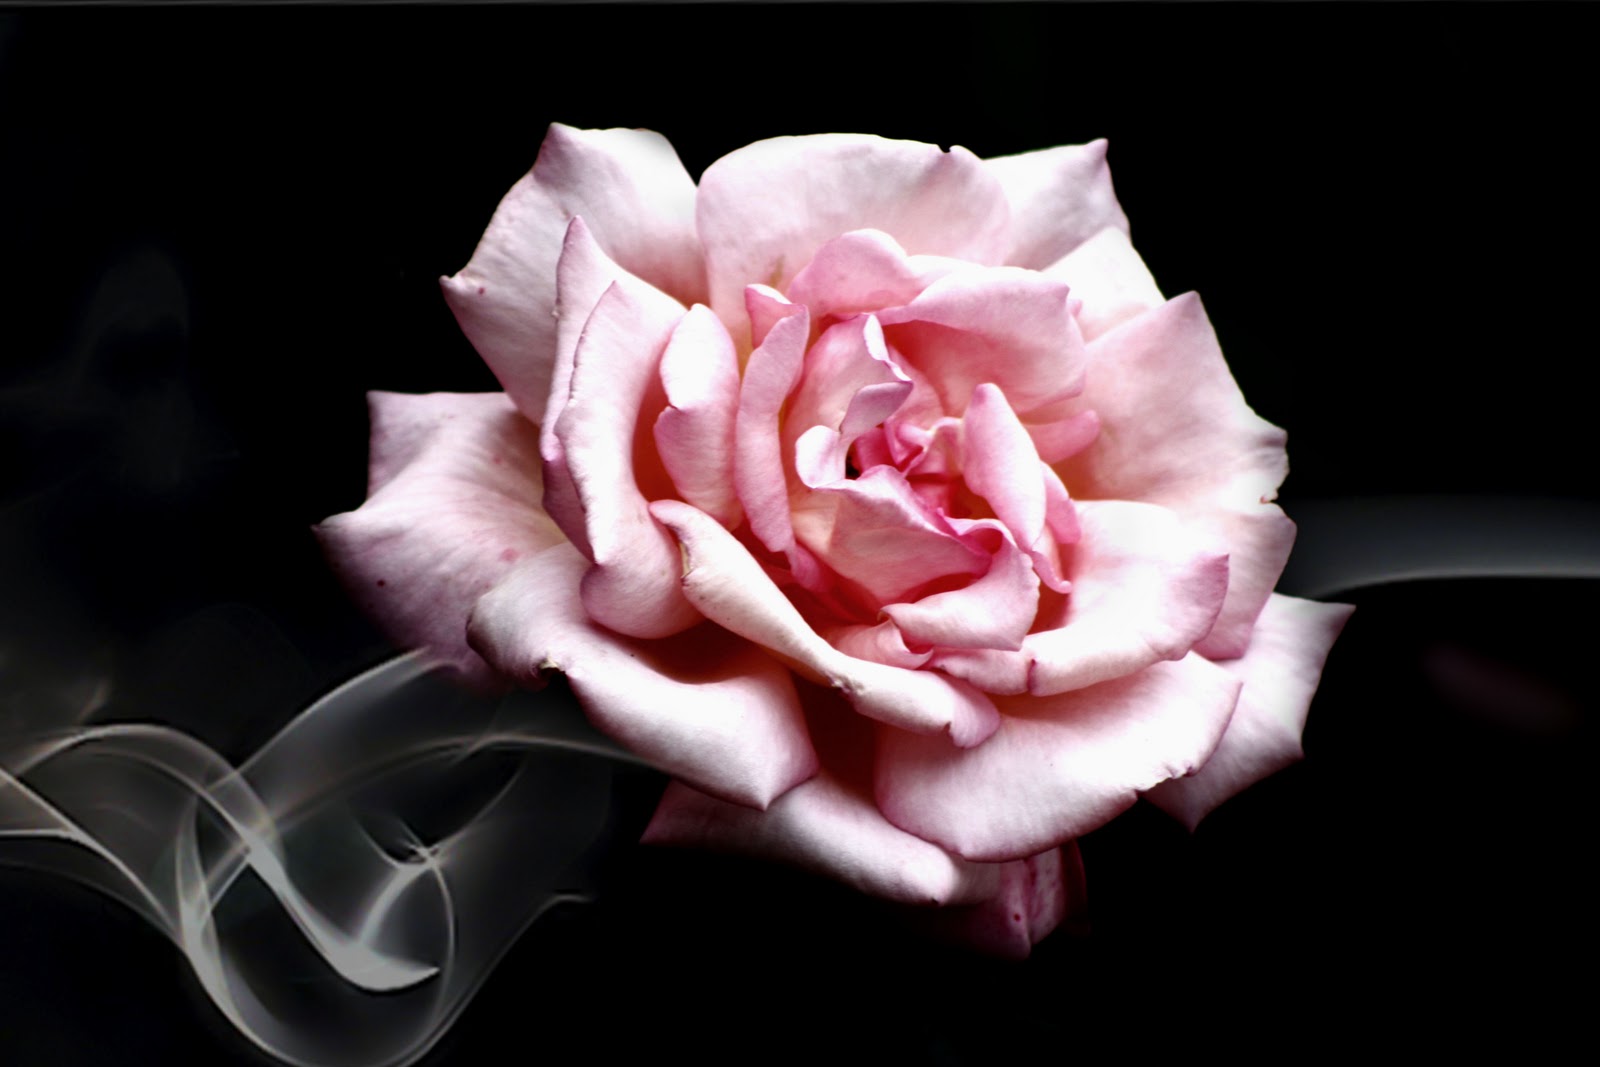
Wednesday 25 January 2012

Bleach Bypass


Here is a before and after of the bleach bypass i attempted. I followed a guide which Lorna handed out to help me do this. It helped a lot and i'm very happy with the result. I opened the image in photoshop i reduced the saturation then to bring the colour back i just changed the blending mode to Soft Light. I then added noise to the image i also increased the saturation to give me a bit of a blue tint. Once the levels were done my image were also done.

Thursday 12 January 2012

Shadows

I took this image in the studio whilst playing with different objects making shadows, we used the fan cage, flowers, and other reflective things. This shadow was created with a simple picture frame, it is not something i think the viewer would see straight away because the main focus is on the model but once they look at the whole picture i think this is really effective. I used the spotlight pointing right at the model against a black wall with Lorna holding the picture frame moving it around till we got the right angle. Since then alls i have done is change the levels on his face as it was a bit over exposed. 
Product

I had a go at Product photography as i have never even tried this before, meaning this was all an experiment to see how it went. I used two light boxes, underneath the subject and one behind it to give this bright white background and light the subject up. I added the gold material into the shot because i felt this would add a bit of something to it, instead of just the bottle which would be boring. The gold colour also reflects the label, thats one of the things i really like. I changed the levels a little bit on this image in Photoshop but that is all. I also used my 50mm lens. 

Wednesday 4 January 2012

Documentary

This is my own attempt at documentary photography, i took my camera into Preston town and got this image in a card shop. I shot in black and white because that is the main style of documentary and later added the darker edges on Photoshop. I used this style in my project as i know it is something i have never tried therefore making this an experiment.

In Photoshop i dupilicated the layer then worked on the copy. I used the lasoo tool to go around the main object, once selected i then inversed that and using a very big black brush i created the dark corners, then playing around with the opacity i got the result i wanted.


Monday 2 January 2012

Final Images ^^

Photoshop

I have just been given Photoshop as one of my presents at christmas so i have been experimenting with that and finding out what lots of the different things do. this was my first attempt at using it on my own laptop at home, i dont think its the best thing ive ever done but quite happy for a first go.
I know i didnt put much thought into the images i used because i just wanted to see what i could do, therefore i used the flower image that i took and got the smoke online. I played around with the levels and saturation. Also used different layers and the opacity to get it how i wanted, and the eraser.


Long Exposure

This was my second attempt experimenting with photoshop and long exposure..
I used two different textures on this one, both found on deviantart. I took the image using f10 on 2 seconds of my sister, i got her to keep still for part of the exposure then move her head slowly sideways which gave me this result. I knew before i took the image i wanted to make it look grungey and a bit creepy so that is what i aimed for throughout the editing process. I reduced the saruration on everything because i didnt want this picture to look bright in any way. I then used a really big black brush to create the vignette effect at one side because i still didnt think it looked gloomy enough and knew it needed something else, this was it.

Thursday 15 December 2011

Documentary Photography
This is a type of photography which i love to look at, if done correctly and with a lot of thought it can be amazing. Here i have looked at the work of Ed Thompson, I enjoyed watching the slideshow of his project 'Occupy London'

This image paints the picture that this man is homeless but i don't think he is. He is at the protests and just doing this to keep warm. The image is dramatic with a harsh vignette around the main subject which is lit very well. Ed Thompson has done a range of the same style pictures from this event and you can tell they are all linked. 

Wednesday 14 December 2011

Research

Long Exposure
A tripod is usually used whilst trying out this technique as often the camera needs to be as still as possible with a few exceptions. I feel this is popular within photography as once you know how to do it, it is easy to repeat and gives you excellent images. The shutter is open for a long time therefore letting in more light, if you are doing something such as light graffiti you would then need your aperture quite high as you want only the lines of light to be visible.


This is what i'm thinking of doing. I want to get someone and experiment with this technique, get them to stay still for a couple of seconds then move to a different position and freeze again. I will have to attempt this a few times to get the right result.

This is another slow shutter idea i would like to try out, it has been done a lot and may seem common and not unique but it is something i have wanted to try for a while so i will! I will take my camera and tripod out to a near by river or stream and using a slow shutter speed hopefully get a good result.


I have my own long exposure light graffiti here which i did in my sisters bedroom with fairy lights on the wall and a light stick. My sister moved the stick around in front of the fairy lights whilst i also moved the camera around during the shot. Its simple but i like the outcome.

I have made an attempt at another long exposure image which is in the 'Photoshop' section of this project.